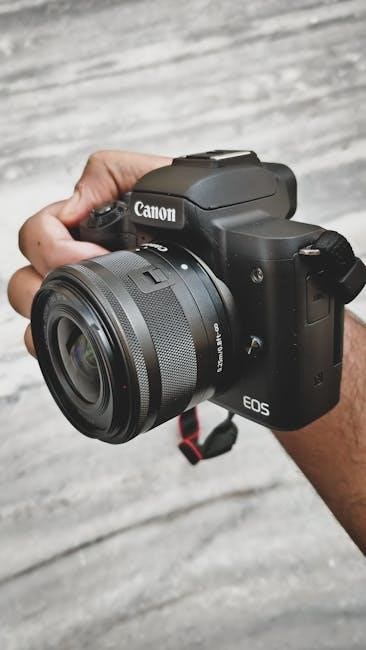
The Canon Rebel T3, also known as the EOS 1100D, is a high-performance DSLR camera designed for novice and enthusiast photographers․ Featuring a 12․2 MP CMOS sensor, DIGIC 4 image processor, 9-point AF system, and HD movie recording, it offers intuitive controls and advanced shooting modes to capture stunning images with ease․
Overview of the Canon Rebel T3
The Canon Rebel T3, known as the EOS 1100D, is an entry-level DSLR designed for photographers seeking high-quality images․ It features a 12․2 MP CMOS sensor, DIGIC 4 processor, and 9-point AF system for sharp focus․ The camera supports HD movie recording, Live View shooting, and offers a user-friendly interface․ With a compact design and compatibility with EF and EF-S lenses, it provides versatility for various shooting scenarios․ The Rebel T3 is ideal for beginners and enthusiasts, offering intuitive controls and advanced modes to enhance creativity․ Its responsiveness and feature-rich design make it a reliable choice for capturing life’s moments with precision and ease․
Key Features of the Canon Rebel T3
The Canon Rebel T3 boasts a 12․2 MP CMOS sensor, capturing detailed images with rich colors․ Its DIGIC 4 image processor ensures quick processing and noise reduction․ The camera features a 9-point autofocus system for precise subject tracking and 3 fps continuous shooting for capturing action․ HD movie recording at 720p and 1080p is supported, along with Live View for real-time composition․ The 3-inch LCD monitor offers clear image playback and menu navigation․ Compatible with EF and EF-S lenses, the T3 is versatile for various photography needs․ Built-in flash, manual controls, and multiple shooting modes make it ideal for learning and creative photography․ These features make the T3 a reliable and versatile camera for photographers․
Importance of the Instruction Manual
The instruction manual is essential for maximizing the Canon Rebel T3’s potential․ It provides detailed explanations of features, shooting modes, and customization options, ensuring users understand every function․ Novice photographers benefit from clear instructions on basic operations, while enthusiasts can explore advanced settings․ The manual covers troubleshooting, maintenance, and error resolution, helping users overcome common issues․ Without it, users may miss out on optimizing camera performance and exploring its full capabilities․ Regularly referencing the manual ensures users stay informed and confident in their photography skills, making it an indispensable resource for all T3 owners․
External Camera Controls
The Canon Rebel T3 features a user-friendly layout with top, rear, and front controls․ The Mode Dial, Main Dial, and Shutter Button are prominently located for easy access․
Top Controls: Mode Dial, Main Dial, and Shutter Button
The top controls of the Canon Rebel T3 include the Mode Dial, Main Dial, and Shutter Button․ The Mode Dial allows selection of shooting modes such as Auto, P, Tv, Av, and M․ The Main Dial adjusts settings like aperture, shutter speed, or ISO depending on the mode․ The Shutter Button is used to focus and capture images․ These controls are strategically placed for intuitive operation, enabling quick adjustments and seamless shooting experiences․
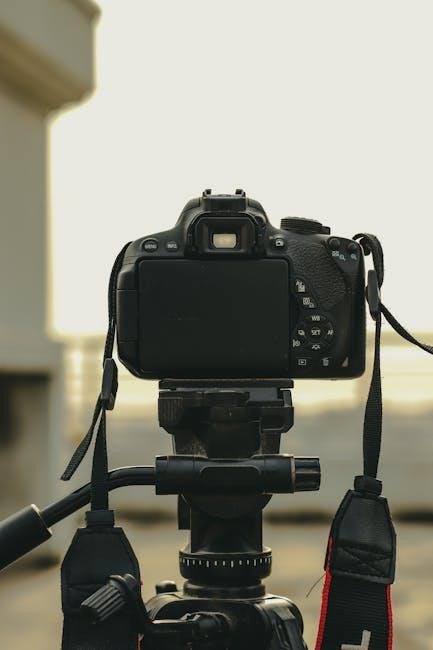
Rear Controls: LCD Monitor, Quick Control Dial, and Buttons
The rear of the Canon Rebel T3 features an LCD Monitor for reviewing images and accessing settings․ The Quick Control Dial simplifies menu navigation and setting adjustments․ Key buttons include the Playback button for image review, the Menu button for accessing camera menus, and the Quick Control/Direct Print button for fast setting changes․ These controls provide easy access to essential functions, enhancing workflow efficiency․ The LCD Monitor also supports the Quick Control Screen, allowing quick adjustments to shooting settings without diving into menus․ This intuitive layout ensures users can focus on capturing moments seamlessly․
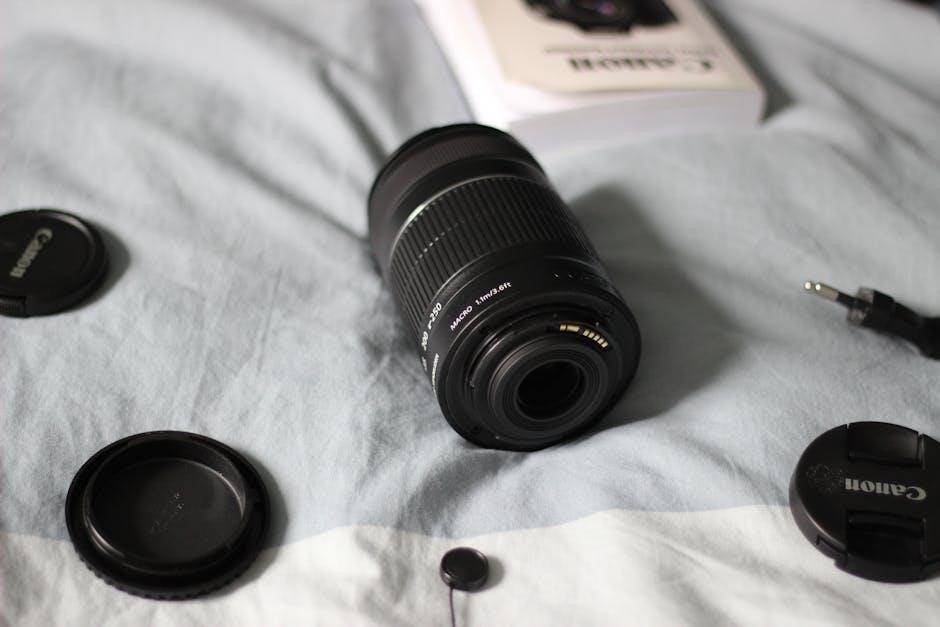
Front Controls: Lens Release Button, Focusing Ring, and Zoom Ring
The front of the Canon Rebel T3 includes essential controls for lens operation․ The Lens Release Button allows easy detachment of the lens from the camera body․ The Focusing Ring enables manual focus adjustment, providing precise control over image sharpness․ The Zoom Ring offers smooth transition between focal lengths, ideal for framing shots․ These controls are ergonomically designed for intuitive use, ensuring photographers can quickly adapt to changing scenes․ Proper use of these features enhances shooting efficiency and image quality, making the T3 versatile for various photography needs․ Understanding these controls is fundamental for mastering the camera’s functionality․
Basic Camera Operation
The Canon Rebel T3 offers intuitive basic camera operation, featuring a 12․2 MP CMOS sensor, DIGIC 4, and 9-point AF for capturing high-quality images with ease․
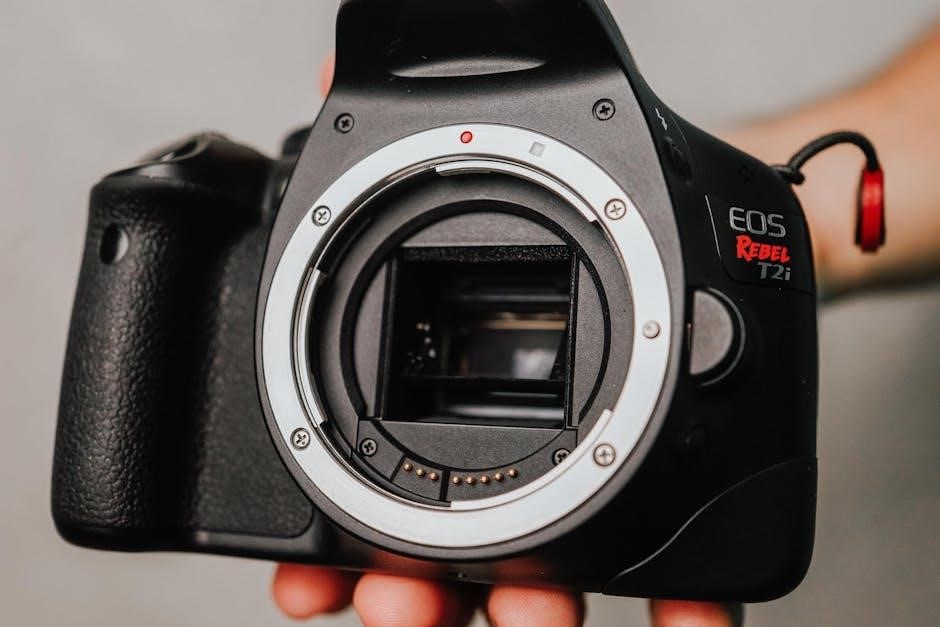
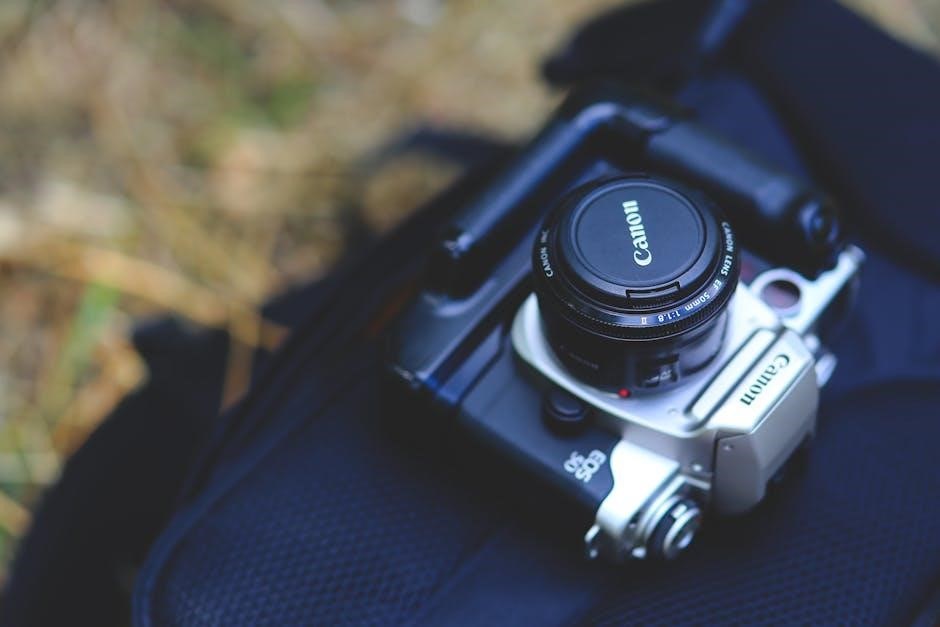
Attaching and Detaching the Lens
To attach the lens to your Canon Rebel T3, align the EF-S lens mount with the camera’s lens mount․ Press the lens release button, then twist the lens clockwise until it clicks․ For detaching, press the lens release button and twist counterclockwise․ Always handle lenses with care to avoid dust and damage, and store them in protective cases when not in use․ Ensure compatibility with EF or EF-S lenses for optimal performance․ Cleaning the lens with a soft cloth and avoiding contact with internal components will maintain image quality․ Practice these steps to build confidence in handling your camera equipment effectively․
Using the Viewfinder and LCD Monitor
The Canon Rebel T3 features both a viewfinder and an LCD monitor for versatile shooting and review․ The optical viewfinder provides a clear, real-time preview of your scene, ideal for precise composition․ It displays key shooting information like aperture, shutter speed, and AF points․ For image review, the 2․7-inch LCD monitor offers a detailed playback of your photos and videos․ Use the Quick Control Screen via the LCD to adjust settings like ISO, white balance, and exposure compensation efficiently․ Both tools enhance your shooting experience, allowing you to capture and review your work with accuracy and convenience․
Understanding Shooting Modes: Auto, P, Tv, Av, M
The Canon Rebel T3 offers multiple shooting modes to suit various photography needs․ In Auto mode, the camera automatically adjusts all settings for a quick, hassle-free shot․ Program AE (P) mode allows for customization of settings like ISO and white balance while the camera manages aperture and shutter speed․ Tv (Shutter Priority) mode lets you set the shutter speed, ideal for capturing motion, while the camera adjusts the aperture․ Av (Aperture Priority) mode enables control over the aperture for depth of field, with the camera handling the shutter speed․ Manual (M) mode provides full control over both aperture and shutter speed for advanced users․ These modes cater to different skill levels and creative preferences․
Setting Image Quality: JPEG, RAW, and Resolution
The Canon Rebel T3 allows users to adjust image quality settings to suit their needs․ JPEG format is ideal for everyday use, offering compressed files that are easy to share․ RAW format captures uncompressed data, providing maximum image detail and flexibility for post-processing․ The camera also offers various resolution options, ranging from 4272 x 2848 pixels for high-quality images to smaller sizes for web use․ By combining these settings, photographers can balance file size and quality, whether shooting for personal albums or professional projects․ Properly setting these options ensures images are captured with optimal clarity and detail, meeting the desired output requirements․
Using Memory Cards: SD, SDHC, and SDXC
The Canon Rebel T3 supports SD, SDHC, and SDXC memory cards, offering flexible storage options․ SDHC cards (up to 32GB) and SDXC cards (up to 128GB) provide ample space for high-resolution images and HD videos․ For best performance, format the card in the camera via the Setup Menu to ensure compatibility․ Always use a high-speed card to maintain optimal write speeds, especially during burst shooting or video recording․ Proper card management, including regular formatting and backups, helps prevent data loss and ensures smooth camera operation․ Refer to the manual for detailed steps on card insertion and management to make the most of your storage solutions․
Focusing Techniques
The Canon Rebel T3 offers advanced focusing techniques, including Autofocus (AF) modes like One-Shot AF for stationary subjects and AI Servo AF for tracking moving subjects․ Manual Focus provides precise control for creative shots, ensuring sharp images in various lighting conditions and compositions․
Autofocus (AF) Modes: One-Shot AF, AI Servo AF, and Manual Focus
The Canon Rebel T3 features three primary autofocus modes to suit various shooting scenarios․ One-Shot AF is ideal for stationary subjects, locking focus once the shutter button is pressed halfway․ AI Servo AF is designed for tracking moving subjects, continuously adjusting focus to maintain sharpness․ Manual Focus allows for precise control by rotating the focusing ring, enabling creative control over depth of field․ These modes ensure versatility in capturing sharp images, whether shooting portraits, action, or landscapes․ Understanding and utilizing these AF modes effectively enhances photography outcomes, making the T3 adaptable to diverse photographic needs and preferences․
Using the AF Point Selection and AE Lock Button
The AF Point Selection button allows you to choose from 9 selectable autofocus points, enabling precise focus control․ Use the cross keys to select a point, with the active point highlighted in red․ This feature is especially useful for off-center compositions․ The AE Lock button, marked with an asterisk, locks exposure settings to prevent changes in lighting conditions․ Pressing it once locks the exposure, indicated by an asterisk in the viewfinder and LCD․ These tools provide enhanced control over focus and exposure, helping you achieve sharp, well-exposed images tailored to your creative vision․
White Balance and ISO Settings
White Balance adjusts color tones to match lighting conditions, with options like Auto, Daylight, Shade, Tungsten, White Fluorescent, and Custom․ ISO settings control sensitivity, optimizing image quality in various lighting scenarios while minimizing noise․
Understanding White Balance: Auto, Daylight, Shade, Tungsten, White Fluorescent, and Custom
White Balance ensures accurate color rendition by matching the light source․ Auto mode automatically adjusts based on the scene, while Daylight replicates natural sunlight․ Shade adds warmth to photos taken in shaded areas․ Tungsten compensates for yellowish indoor lighting, and White Fluorescent adjusts for fluorescent light sources․ Custom allows manual setting using a reference object․ Proper White Balance enhances image quality, ensuring colors appear natural and vivid, especially in challenging lighting conditions․
Adjusting ISO: Sensitivity and Noise Reduction
ISO sensitivity controls the camera’s light response, ranging from 100 to 6400 on the Rebel T3․ Lower ISOs (100-400) suit bright conditions, minimizing noise, while higher ISOs (800-6400) capture images in low light but may introduce grain․ To adjust ISO, use the Quick Control screen or Main Dial․ Enable Noise Reduction in the Shooting Menu to minimize grain in high ISO shots․ Balancing ISO and noise reduction ensures optimal image quality in various lighting conditions, allowing photographers to capture sharp, detailed images even in challenging environments․
Built-in Flash
The Canon Rebel T3 features a built-in flash for low-light conditions, offering options like Flash On, Flash Off, and Red-Eye Reduction to enhance lighting and reduce glare․
When to Use the Built-in Flash
The built-in flash on the Canon Rebel T3 is a versatile tool for capturing better images in challenging lighting conditions․ Use it in low-light environments, such as indoors or at dusk, to illuminate your subject and reduce shadows․ It’s also effective for backlighting, where natural light is behind the subject, causing unwanted silhouettes․ Enable the flash to add fill light and balance the exposure․ Additionally, the flash is useful for night portraits to ensure your subject is well-lit while maintaining a visible background․ The flash can be set to Flash On, Flash Off, or Red-Eye Reduction mode to minimize red-eye effects in portraits; This feature enhances flexibility in various shooting scenarios without needing an external flash unit․
Adjusting Flash Settings: Flash On, Flash Off, and Red-Eye Reduction
The Canon Rebel T3 offers three primary flash settings to suit various lighting needs․ Flash On activates the built-in flash for low-light conditions, ensuring subjects are properly illuminated․ Flash Off disables the flash, ideal for situations where flash is prohibited or unnecessary, such as in museums or during outdoor daylight․ Red-Eye Reduction minimizes the red-eye effect in portraits by emitting a pre-flash to reduce pupil dilation․ These settings are easily accessible via the camera’s external controls or menu system, allowing quick adjustments to achieve desired results․ Each mode is designed to enhance image quality and versatility, catering to different photographic scenarios with precision and ease․

Using the LCD Monitor
The LCD monitor allows you to review captured images, check shooting settings, and access menu options for adjustments․ It’s a key tool for ensuring image quality and camera control․
Reviewing Images and Movie Playback
Reviewing images and movie playback on the Canon Rebel T3 is straightforward․ Use the Playback button to enter review mode․ Navigate through images using the cross keys or Quick Control Dial․ Movies can be played back using the same controls․ The LCD monitor displays images with zoom options for detailed inspection․ Press the AE Lock button to magnify images․ During movie playback, press the shutter button to pause․ The camera also supports basic in-camera editing, such as trimming clips or adjusting image properties, making it a versatile tool for immediate post-capture adjustments without a computer․
Using the Quick Control Screen for Settings Adjustment
The Quick Control Screen on the Canon Rebel T3 provides quick access to essential camera settings․ Press the Quick Control button to display the screen, which shows key shooting parameters like exposure compensation, ISO, and white balance․ Use the cross keys to navigate and select the desired setting, then turn the Main Dial or Quick Control Dial to adjust it․ This feature streamlines workflow, allowing you to make changes without delving into the main menu․ Additionally, the Feature Guide can be disabled via Setup Menu 2 for a cleaner interface, making the Quick Control Screen even more efficient for experienced users․

Live View Shooting
Live View Shooting enables precise composition using the LCD monitor․ Activate it via the Live View button for real-time preview, enhancing flexibility in framing shots accurately․
Activating Live View and Focusing in Live View
To activate Live View on the Canon Rebel T3, press the Live View button located on the rear of the camera․ This will display a real-time preview of your scene on the LCD monitor․ Once in Live View, you can use the camera’s autofocus system by pressing the shutter button halfway or the AF Point Selection button․ The camera offers two AF modes: Quick AF, which uses phase-detection for fast focusing, and Live AF, which uses contrast-detection directly from the image sensor․ Additionally, you can manually focus by using the focusing ring on the lens, ensuring sharp results․ The Enlarge button allows you to zoom in on the image for precise focus verification․
Using the Live View for Precise Composition
The Live View feature on the Canon Rebel T3 enhances composition by providing a clear, real-time preview of your scene on the LCD monitor․ This allows for precise framing and alignment of elements, ensuring your images are well-balanced․ The Grid Display option can be enabled to divide the screen into sections, helping you adhere to compositional rules like the rule of thirds․ Additionally, the camera’s digital level tool assists in maintaining straight horizons; The ability to zoom in on specific areas using the Enlarge button ensures that details are sharp and properly positioned, making Live View an invaluable tool for achieving professional-looking results․ This feature is particularly useful for still-life, portrait, and landscape photography where exact composition is crucial․

Movie Shooting
The Canon Rebel T3 supports high-definition movie recording in 720p and 1080p resolutions, offering flexible options for capturing sharp, detailed video content with ease and precision․
Recording HD Movies: 720p and 1080p Resolution
The Canon Rebel T3 allows users to record high-definition movies in both 720p and 1080p resolutions, ensuring crisp and detailed video content․ The 720p resolution offers smooth motion, ideal for fast-paced scenes, while the 1080p resolution provides superior clarity, perfect for capturing intricate details․ The camera’s DIGIC 4 image processor enhances video quality by reducing noise and optimizing color reproduction․ Users can easily switch between resolutions using the menu system, making it adaptable to various shooting needs․ Additionally, the T3 supports manual focus during recording, allowing for precise control over the scene’s focus, and features automatic exposure adjustments to maintain optimal lighting․
Using Autofocus During Movie Recording
The Canon Rebel T3 allows for smooth autofocus operation during movie recording, enhancing your video capture experience․ The camera features a 9-point AF system, which can be activated by half-pressing the shutter button, ensuring sharp focus on moving subjects․ For dynamic tracking, AI Servo AF mode is particularly effective, adapting to subject movement seamlessly․ However, note that autofocus noise may be audible in recordings when using certain lenses․ To minimize this, consider using manual focus or an external microphone․ Additionally, the rear LCD can be utilized to select focus points, providing greater control over your composition․ This feature-rich system ensures versatile and precise focusing options for various filming scenarios;
Customizing Camera Operations
The Canon Rebel T3 offers customizable functions to tailor camera settings to your preferences․ Utilize Custom Functions for personalizing autofocus, metering, and exposure settings․ Create a custom menu for quick access to frequently used options, enhancing workflow efficiency and creativity․
Custom Functions: Personalizing Camera Settings
Custom Functions on the Canon Rebel T3 allow users to tailor camera settings to their preferences, enhancing shooting efficiency․ Options include adjusting autofocus priority, metering modes, and exposure compensation․ These functions enable photographers to customize ISO sensitivity, flash synchronization, and image stabilization settings․ By personalizing these settings, users can optimize the camera for specific shooting styles or conditions, ensuring consistent results․ The Custom Functions menu provides detailed options to fine-tune camera behavior, making it ideal for photographers seeking advanced control over their equipment․ This feature is particularly useful for those familiar with DSLR operations and looking to streamline their workflow․
Creating a Custom Menu for Faster Access
The Canon Rebel T3 allows users to create a custom menu, streamlining access to frequently used settings․ By registering up to six menu items, photographers can quickly adjust preferences without navigating through multiple menus․ This feature is particularly useful for speeding up workflows during shoots․ The custom menu can include options like image quality, autofocus modes, and ISO settings, making it easier to tailor the camera to individual shooting styles․ Users can access the custom menu directly via the menu button, ensuring efficient operation․ This customization option enhances productivity and helps photographers focus on capturing moments rather than adjusting settings․
Menu System
The Canon Rebel T3’s menu system provides intuitive access to shooting modes, movie settings, and customization options, allowing users to efficiently adjust camera functions and personalize their experience․
Navigating the Shooting Menu
The Shooting Menu on the Canon Rebel T3 provides access to essential camera settings for capturing images․ To navigate, press the Menu button and use the cross keys to scroll through options․ Key settings include Image Quality, White Balance, Autofocus modes, and ISO sensitivity․ Users can adjust these settings to customize their shooting experience․ The Quick Control screen offers a faster way to modify settings without diving deep into the menu․ By understanding these options, photographers can optimize their camera configuration for various shooting conditions, ensuring high-quality results․ This menu is crucial for personalizing camera operations to suit individual preferences and photographic needs․
Exploring the Movie Menu Options
The Movie Menu on the Canon Rebel T3 allows users to customize settings for recording HD videos․ Key options include selecting video resolution (720p or 1080p) and frame rates (24, 25, or 30 fps)․ Users can also enable or disable autofocus during recording, ensuring sharper focus transitions․ Additional settings like digital zoom and video snapshot can enhance movie capture․ The menu provides options to adjust sound recording levels and enable external microphone use․ These features empower users to tailor video settings to their creative vision, ensuring high-quality movie recording with ease and precision․ Exploring these options helps maximize the camera’s video capabilities for diverse shooting scenarios․
Understanding the Setup Menu: Firmware and Factory Reset
The Setup Menu on the Canon Rebel T3 provides essential tools for camera maintenance․ Firmware updates can be installed to enhance camera performance, fix bugs, or add new features․ Users can check for updates via the menu and install them using a computer connection․ The factory reset option restores the camera to its default settings, useful for troubleshooting or preparing the camera for sale․ This menu also includes options like formatting memory cards, adjusting LCD brightness, and setting the date/time․ Regular firmware updates and understanding reset options ensure optimal camera functionality and personalized shooting experiences․ Proper use of these tools helps maintain the camera’s performance and adaptability to user needs․
Using My Menu for Personalized Settings
My Menu on the Canon Rebel T3 allows users to customize their shooting experience by creating a personalized menu of frequently used settings․ This feature streamlines access to preferred options, saving time during shoots․ Users can select up to six menu items from various categories, such as autofocus modes, ISO settings, and image quality options, and organize them in a convenient order․ The menu can be edited to add or remove items as needed․ This customization enhances workflow efficiency and ensures that essential functions are readily accessible, making the camera more tailored to individual preferences and shooting styles․ It’s a practical tool for optimizing camera operation․
Troubleshooting
Common issues with the Canon Rebel T3 include error messages, battery drain, focusing problems, or memory card errors․ Check settings, clean the sensor, and format cards․ Resetting to factory defaults often resolves issues․ Ensure firmware is updated․ Refer to the manual for specific solutions and maintenance tips to prevent recurring problems․
Common Issues and Solutions
Users of the Canon Rebel T3 often encounter issues such as battery drain, focusing errors, or memory card problems․ To address battery drain, disable unused features like image stabilization and reduce LCD usage․ For focusing issues, ensure the lens is clean and switch to manual focus if autofocus fails․ Memory card errors can be resolved by formatting the card in the camera or using a card reader․ Additionally, error messages like “Err 99” may indicate firmware issues, which can be fixed by updating the camera’s firmware․ Regularly cleaning the sensor and updating firmware helps prevent these issues and ensures optimal performance․
Understanding Error Messages and How to Resolve Them
The Canon Rebel T3 displays error messages to alert users of specific issues․ For instance, “Err 01” indicates a communication problem between the camera and lens, often resolved by cleaning the lens contacts or restarting the camera․ “Err 02” points to issues with the memory card, such as corruption or incompatibility, which can be fixed by formatting the card or using a different one․ “Err 99” is a generic error that may require updating the camera’s firmware or resetting it to factory settings․ Understanding these messages helps users troubleshoot effectively, ensuring minimal disruption to their photography sessions and maintaining optimal camera functionality and performance․
